A thoughtful table for every guest
How to Arrange Wedding Seating Without Getting Lost in the Guest List
Updated 2026-10-29
Organize your guests by table using a clear method: real capacity, groups, accessible pathways, and final changes. Try four practical tools.

To arrange the tables for a wedding, start with the confirmed guests and the venue's actual floor plan. Then build groups of people who can talk to each other, assign a table to each group, and review traffic flows with the venue. Decor comes once that foundation works. You don't need to guess who will get along or turn dinner into a test of coexistence. You need a layout that makes sense, enough space, and a simple way to handle changes. Here is a step-by-step method, a numerical example, and four tools to prepare your seating arrangement before handing it over to whoever is coordinating the catering.
To check these choices with your own inputs, use Tablecloth Size Calculator: Drop and Cut Size. The method and limits stay visible, and the worksheet exports without an account.
1. Start with confirmed guests, not invitations sent
An invitation might include a couple, a family, or an individual with a pending plus-one. To seat your guests, you need to count people, not envelopes, links, or messages. Separate those who confirmed from those who haven't responded yet and those who indicated they won't attend. Also note whether a confirmation includes a plus-one and if their name has already been agreed upon. Avoid assuming that one RSVP means the entire family is attending. When in doubt, clarify it before moving entire tables.
Pick a cutoff date that allows you to meet the agreed-upon deadline with the venue and the catering service. There is no one-size-fits-all date for every wedding: ask when they need the final count and when they can accept adjustments. Use an identified version of your list, for example, "seating chart for review, version 2." That way, no one will confuse a draft with the copy used at check-in. The prior work of organizing your guest list helps you separate these statuses without starting over from scratch.
2. Confirm the actual capacity and layout that will be set up
The venue's published capacity may encompass different layouts. Ask for a floor plan featuring the tables that will actually be used at your wedding, the number of seats per table approved by the vendor, and the location of the dance floor, stage, bars, and service areas. Don't decide how many chairs fit simply by looking at the diameter of a table in a photo. Dinnerware, chairs, circulation space, and venue conditions also matter. If the setup changes, re-validate the layout.
Distinguish arithmetic capacity from authorized capacity. Eight tables with eight seats provide 64 spots on paper; that doesn't prove the room can accommodate them while keeping walkways clear. The vendor must confirm the real arrangement and its requirements. On the floor plan, identify the entrances, restrooms, and exits indicated by the venue. Don't place an extra table in a walkway just because the math shows you are two seats short. First, look for another approved layout or re-evaluate the number of attendees.
Read more: How to Make a Guest List You Can Actually Use.
3. Calculate a baseline and decide where the buffer goes
Count every person who will occupy a chair. If children will attend, confirm with their parents or guardians and with the caterer how their seating will be handled; don't erase them from the floor plan just because they are little. Keep staff members who have a separate dining area apart. Decide whether you and your partner will sit at your own sweetheart table or within a group, because that choice changes the available seats. Then divide the confirmed total by each table's validated capacity and round up.
Imagine 58 confirmed guests and approved eight-person tables. You need at least eight tables: seven only provide 56 seats. Eight give you 64, leaving six unassigned seats. That buffer doesn't force you to fill every table. You can seat eight, eight, eight, eight, seven, seven, six, and six guests, provided the venue approves that setup. Nor does it equal reserving spots for six new guests: some seats may be needed for adjustments or preferences. If you decide to keep two seats open, the calculation still requires eight tables.
Test your seating layout
How many tables do you need?
Do it without JavaScript
Divide guests plus buffer by the validated seats per table and round up. With 58 guests, 2 available seats, and tables of 8: 60 ÷ 8 → 8 tables. They offer 64 seats; 6 remain unassigned. If you don't want a buffer, use zero. The venue must confirm the setup.
4. Group by connections, without labeling people
Start with the bonds you already know: a family that wants to dine together, friends who see each other often, or coworkers who share an easy conversation. Treat those groups as a flexible proposal, not as rigid blocks that cannot be changed. Before splitting up a couple or seating someone alone with strangers, consider whether they will have a connection that helps them feel comfortable. Ask privately when a preference is important. You don't need to write personal reasons on the floor plan.
If a group exceeds table capacity, split it across two nearby tables when the venue permits. A group of ten will not fit at a table validated for eight; nor is it solved by pulling up two chairs on your own. Look for two subgroups that make sense and preserve some connection between them. To blend smaller groups, pick genuine connections: shared friends, a common activity, or a shared language. Avoid using relationship status, age, or an assumed personality type as your only rule. The goal is to provide a natural starting point for conversation.

Test your seating layout
Does your group fit at one table?
Do it without JavaScript
If the group fits, keep one table. If it exceeds capacity, calculate the minimum tables needed and divide it into meaningful subgroups. Example: 10 people and 8 seats require at least 2 tables; a balanced test would be 5 and 5. This does not assign names or guarantee compatibility.
5. Ask what makes dinner easier, without sharing private details
Don't assume all older guests prefer sitting together, or that anyone using a mobility aid needs to be placed right next to the door. Ask what spot works for that person and what path they need to take. They might prefer a table near family, an area with less noise, or a seat with a better view. Record only the necessary operational notes on the floor plan. A seating request is not authorization to share diagnoses, family disputes, or other personal details with all vendors.
For children, coordinate seating with their parents or guardians. A kids' table might work at one wedding and feel uncomfortable at another; it does not replace the supervision agreed upon by the family. For guests who speak another language, aim for a connection that makes conversation easy without trapping everyone in an isolated pod. When there are strained relationships, avoid turning the seating chart into a mediation session. Keep a reasonable distance and consult as needed with the individuals involved. Respect begins by not explaining publicly why someone asked to switch tables.
Read more: How to Plan an Intimate Wedding with Character.
Does a seat assignment confirm that a meal has been checked?
Assigning a table and checking a dietary need are separate decisions. A seating plan shows where someone sits; it does not prove that ingredients or preparation have been reviewed. Keep sensitive details off the plan other guests will see. Agree on a private channel between the guest, the organizer and the person preparing or serving the food.
Before handing over the final version, establish who receives seat changes and who checks their effect on service. A color, label or dish name does not certify safety. If a provider has not answered, keep the issue pending and tell the guest rather than turning a seating-plan checkbox into a promise.
| Information | Separate check |
|---|---|
| Table assigned | Seat and plan version |
| Need communicated | Responsible person and pending or received response |
| Table change | Team handoff and service review |
6. Walk the layout with the chairs occupied
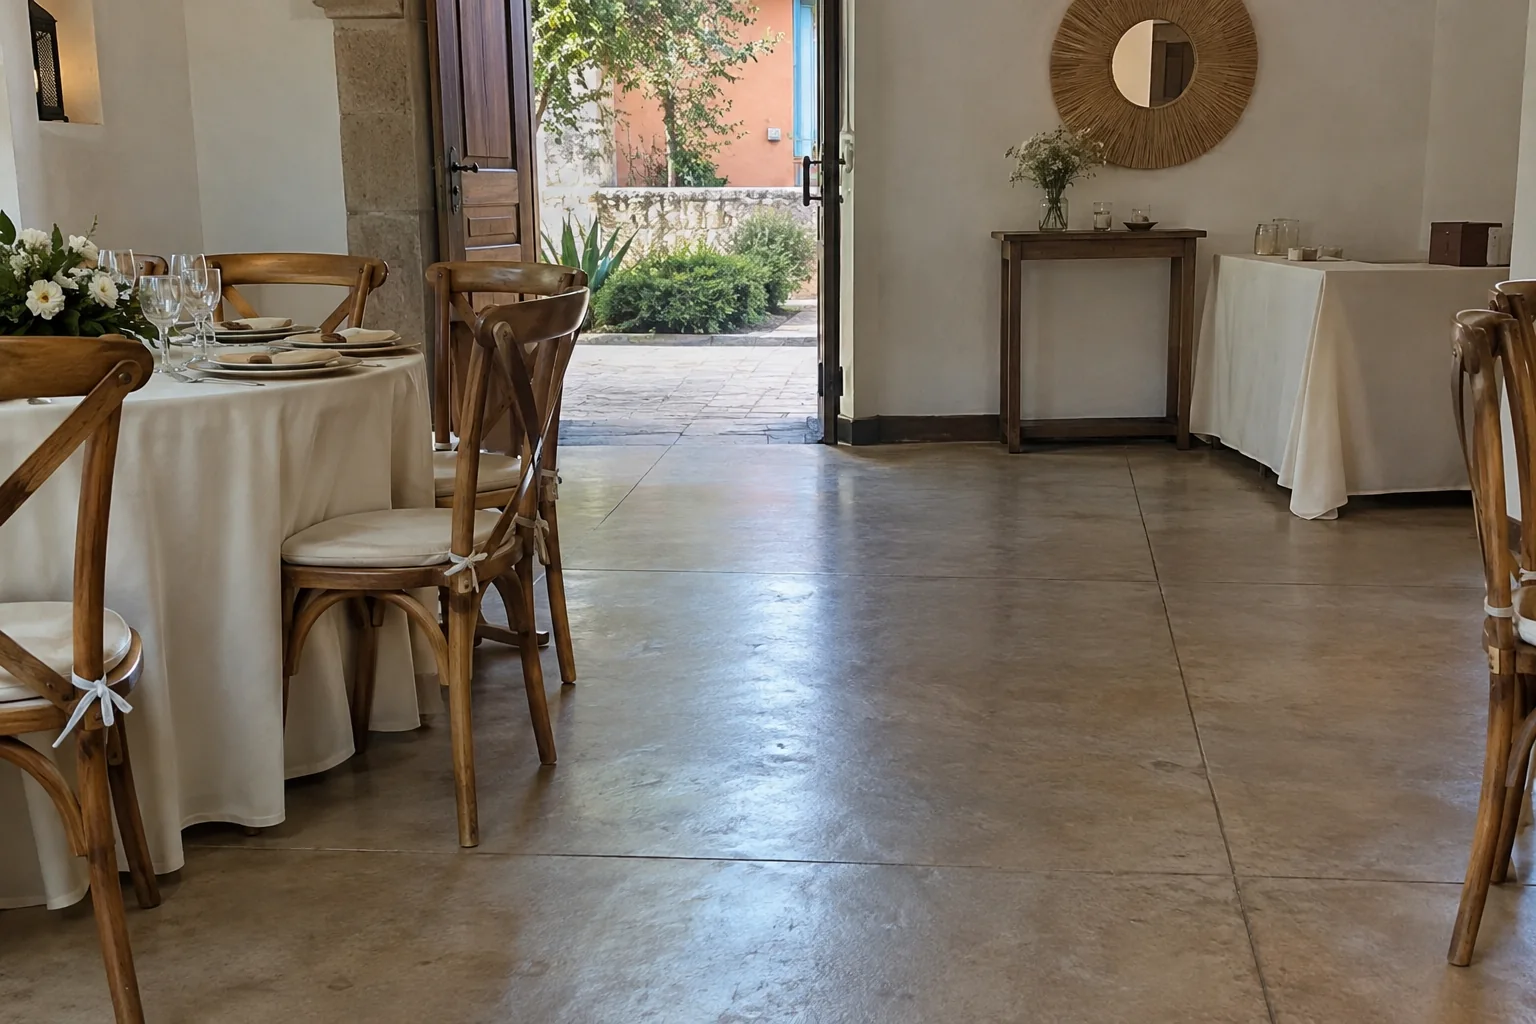
A wide aisle in an empty room can become narrow once guests sit down and chairs are pulled away from the tables. Walk through the actual setup that will be used alongside the venue manager. Check the paths from the entrance to the tables, the restrooms, and activity areas. Also observe where service staff will move and where lines might form to check the seating chart. The chart's placement shouldn't cause a bottleneck right at the doorway.
The Conapred recommendations for organizing accessible events suggest identifying accessible routes and laying out seating and service elements without creating obstacles. They serve as a guide for preparing questions; the vendor must inspect your specific venue. Ask what happens when chairs are occupied, which areas must stay clear, and how an alternate route will be communicated. If a centerpiece, cable, or line gets in the way, adjust that element before asking a guest to adapt. Include these checks in the reception and greeting prep.
Test your seating layout
Walkway checklist, step by step
0 of 5 items reviewed. Confirm pending details with the venue.
Do it without JavaScript
Review these five points with the venue manager and with anyone who requested an accommodation. Checking them all off doesn't certify accessibility: it confirms the actual layout and keeps track of items that still need attention.
7. Test the arrangement with an example before writing names
Go back to the 58-guest scenario. In a draft, place four groups of eight first, then two groups of seven, and two groups of six. See if the larger groups reflect genuine connections or if you formed them merely to make the numbers look neat. If you need to seat nine people together, shift a subgroup to a neighboring table; do not exceed the eight authorized spots. If a table of six ends up being more comfortable and everyone has a seat, there is no reason to force it full.
Now review preferences. Suppose someone at an eight-person table requests a quieter area and wants to remain next to their plus-one. Moving only that individual breaks the bond they asked to keep. Look for two suitable seats at another table and recount both tables. Every adjustment must preserve three things: no one appears twice, no one is left without a table, and no table exceeds its capacity. This exercise with anonymous groups helps you rehearse choices; you will compile the final list with names in your own master document.
8. Make finding the table straightforward
Pick a single naming system per table and keep it identical across the floor plan, the check-in list, and the seating chart display. You can use numbers or names, but avoid having a table called "Five" on one sheet and "Garden" on another. If you choose similar names, provide a clear reference. Text must be readable from a practical distance; decorative typography is unhelpful if guests have to lean in close to read it. Decide with the venue where the chart will stand and who will be on hand to guide guests who need assistance.
For a small wedding, a simple list and reception staff may be plenty. For larger guest counts, consider how people will find their names without blocking the entryway: an easy-to-read order, multiple viewing stations if appropriate, and a backup copy. Don't post phone numbers, emails, dietary restrictions, or personal notes on the public seating display. The public chart only needs to help each person locate their table. To protect your working file, check out the guide on guest list privacy.
9. Finalize a version and prepare for last-minute changes
Once the vendor confirms the final count, deliver an identified copy marked with the date or version number. Specify who has authority to approve a change and how it will be communicated to reception and catering staff. Remove outdated copies from work areas so they don't circulate as current. A casual text message in a group chat won't magically update every printed sheet. If someone changes tables, record the move on the master coordination copy and notify those who need to know.
Before the event, prepare for four possible hiccups: a cancellation, a plus-one who showed up without an RSVP, a preference that got overlooked, and a group requesting to sit closer together. Don't promise you can accommodate an extra guest if the venue or caterer cannot support it. Work out the solution with your coordinator. An open chair might solve a seating issue, but it doesn't mean an extra meal was contracted. The guide to guest reminders helps minimize doubts before the cutoff; unexpected changes are then managed using the available information.
10. Separate welcoming guests from the seating chart
Convite lets you create QR code invitations and manage guest check-in. That can help streamline your entrance, but it doesn't automatically design your table layout or decide who should sit next to whom. Keep the floor plan as an independent coordination document and verify that its version matches the list used at check-in. If multiple people are working on it, agree on which information belongs to whom. There's no need to share your private seating notes with the entire vendor team.
The four tools in this guide let you test capacity, groups, walkways, and final sign-offs. You can try them out with fictional numbers and scenarios, without entering names. Then apply the workable decisions to your actual document and confirm them with your vendor. If you are planning an intimate wedding, the exact same method works for just a few tables: confirm, count, group, and check. A seating arrangement is ready when guests can find their spots, catering staff can move freely, and the team knows which version to look at. It doesn't need to resolve every conversation of the celebration in advance.
Test your seating layout
Finalize the version your team will use
0 of 8 items reviewed.
Do it without JavaScript
Go through each item, identify the current copy, and agree on who handles changes. You can use this checklist on paper. Checkmarks only remain while this page stays open; they are not sent or saved.
Choose a seating arrangement your guests can follow
Jamie Wolfer explains assigned tables, assigned seats, and open seating, plus ways to display the chart. Use her examples to decide how guests will find their places; confirm the actual layout and capacity with your venue.
The YouTube player loads when you open the video. Watch on YouTube.
Want to assign your groups to specific tables? Open the free table seating planner: capacities and reserves, guest movements, comparisons, and export files for your team.
Receiving a reply does not confirm a food option; read how to ask about and review dietary needs.
Before finalizing your plan
How many guests should I put at each wedding table?
Use the capacity confirmed by your vendor for the actual setup. There is no standard number: table size, chairs, service style, and walkway clearance all vary. You can leave seats unassigned if the venue approves it.
Is it mandatory to seat both families together?
You can organize groups based on genuine bonds and preferences. You don't need a single family table if it feels awkward or exceeds capacity. Two nearby tables can maintain that connection without forcing the arrangement.
What should I do if my group is larger than a table?
Split it into logical subgroups and look for adjacent tables within the approved floor plan. Do not squeeze in extra chairs on your own. Double-check that every person has only one assigned seat.
Can I leave open seats for last-minute changes?
Yes, as long as they are part of an authorized layout. Distinguish an unassigned seat from a catered meal or paid admission: having an empty chair does not confirm you can accommodate another guest.
Does Convite create my wedding seating chart?
No. Convite creates QR code invitations and assists with check-in. The table seating chart is prepared separately; the exercises on this page are editorial tools, not app features.
Sources and helpful reading
Practical guide from the editorial team. Examples are for guidance; adapt decisions and requirements to your event.
- Conapred · Recommendations for Organizing Accessible Events (2015): Sections on infrastructure, reception, and spaces: accessible routes and barrier-free furniture. Does not replace on-site venue inspection.