Guides for hosts
How to make an event more accessible starting from the invitation
Improve your event's accessibility with concrete information, vetted routes, participation options, and respectful communication with your guests.
Accessibility doesn't start when guests arrive at the venue. It begins the moment someone tries to understand the invitation, figure out if they can attend, and find out what accommodations will be available. A small gathering can also benefit greatly from straightforward, proactive choices. This guide offers a framework to review communications, arrivals, physical space, and participation without assuming all needs are identical. It isn't an official accessibility certification and does not replace venue compliance requirements. Its starting point is practical: ask respectfully, describe actual conditions, and provide alternatives without placing the burden of event planning onto the invited guest.
Ask about needs without requesting personal stories
Provide a private way to communicate access or participation needs. You might write: “If there's anything we should keep in mind so you can participate comfortably, please let us know here.” Don't ask for diagnoses or personal explanations that aren't necessary for organizing support. If someone requests an accommodation, confirm what they need and what you are able to offer. A specific, honest answer is always better than a broad promise you might not be able to keep.
Ask early enough to take action, and leave room for changes. Some needs may only come up closer to the date. Avoid treating a lack of responses as proof that everything is accessible: some people may not reply because they don't know what details to share or don't want to single themselves out. Share useful venue and format details from the very start, so everyone can decide with greater autonomy. Asking guests complements your venue walkthrough; it doesn't replace it.
Describe arrival logistics with verifiable details
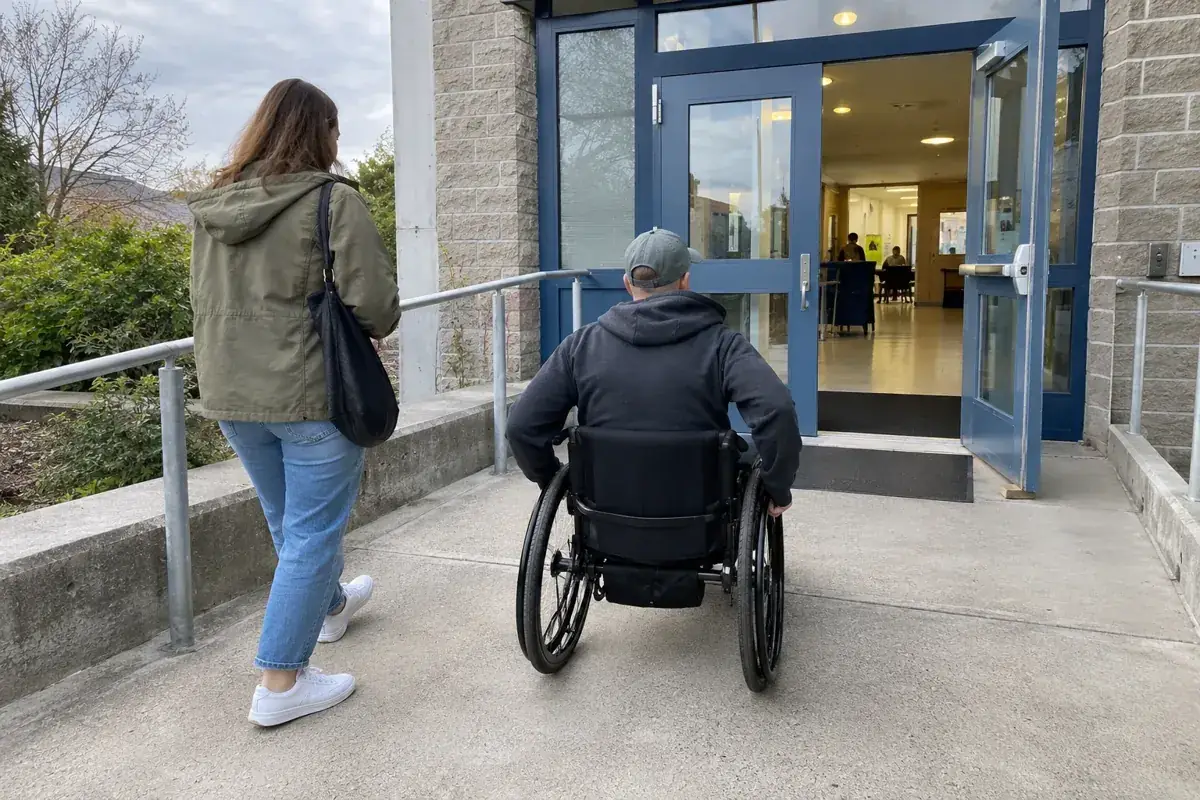
Walk the route from the arrival point to the main area and restrooms. Note steps, doors, surfaces, key distances, and actual accessible entry options. Don't use “fully accessible” as a shorthand if you cannot substantiate it. A description like “the main entrance has two steps; there is another step-free entrance on the side, which will be unlocked” offers much more practical information. Verify with the venue that this alternative entrance will indeed be usable at the time of the event.
Check signage and wayfinding as well. A correct street address isn't always enough when a building has multiple entrances or rooms. You can prepare short directions and assign a point of contact for arrivals. Do not share personal phone numbers without consent, and don't rely on everyone being able to call in that moment. If you provide a map, accompany it with written directions. Make sure the pathway doesn't end up blocked by decor, queues, cables, or furniture during the final setup.
Read more: How to choose an event venue beyond the photos.
Prepare information that doesn't rely on a single format
Send essential details as readable text: date, time, location, format, and contact info. A nice graphic can accompany it, but it shouldn't be the sole source of information. Avoid tiny fonts, low contrast, or instructions conveyed purely through color. If you include links, make sure it's clear where they lead. For activities with materials, sharing them ahead of time allows guests to review them using their own tools and at their own pace.
The W3C accessibility guidelines recommend planning ahead for materials, captions, and participation options. At a social gathering, you can put this principle into practice by offering written instructions alongside spoken announcements, and providing subtitles whenever you show a video that requires them to be understood. Don't assume turning up the volume solves all barriers. If specialized support is needed, coordinate its preparation and scope well in advance rather than improvising on the fly with an unvetted app.
Check seating, walkways, and sensory comfort
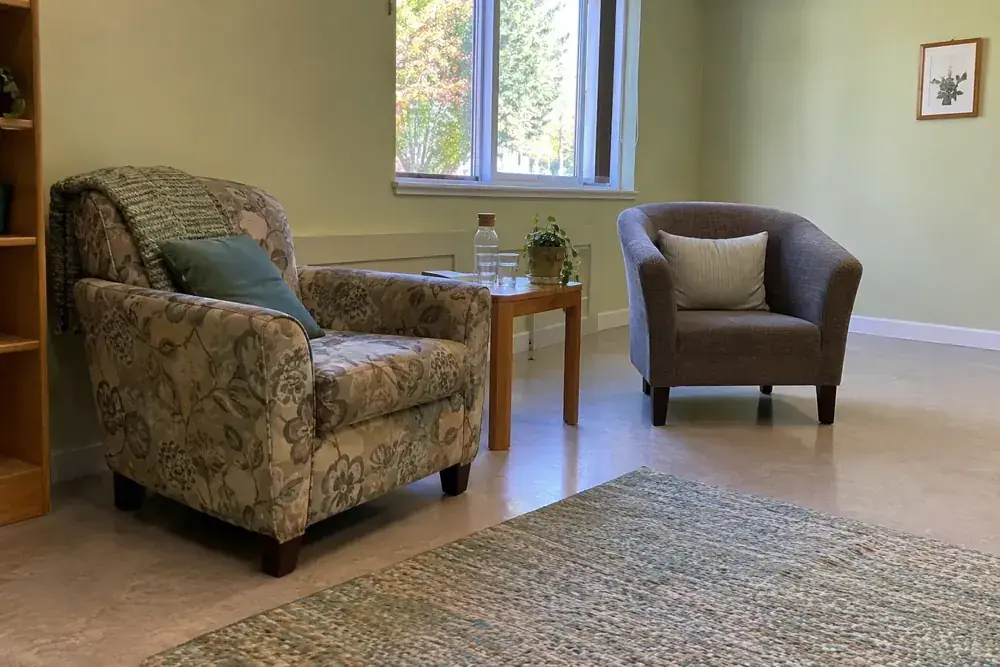
Provide different seating options where possible and avoid separating anyone from the group for the sake of an easy layout. Keep clear pathways to tables, restrooms, and exits. Always ask before moving someone's mobility aids or offering physical assistance; unsolicited help can feel intrusive or compromise personal autonomy. The welcome team should be familiar with the space and know whom to turn to if a need arises that they cannot address on their own.
Take sound, lighting, and opportunities to rest into account. A low-stimulus area can be helpful if available, provided it's communicated without stigmatizing labels. Don't frame it as a magic fix or as a place where certain guests are expected to stay. Avoid abrupt changes in lighting or activities that force everyone into a single mode of participation. If there will be music, monitor the volume and ensure there's a quieter spot to chat. Sensory comfort benefits many people, even if their reasons differ.
Design activities with multiple ways to participate
Before choosing a game or group activity, ask what it requires: standing up, reading quickly, listening to complex instructions, using a smartphone, or speaking in front of the crowd. You can offer equivalent alternatives without singling anyone out. For instance, allow people to answer verbally or in writing, participate from their seat, or simply watch. Opting out must also be a completely valid choice. An event doesn't require everyone to do the exact same thing to foster a meaningful shared experience.
Explain instructions clearly and with sufficient time. If an activity depends on a digital tool, check how it works and prepare a simple alternative. Don't assume everyone has mobile data, battery life, or the ease to use the same system. For event check-in, agree on how to assist anyone having trouble with their invitation or device. Resolving a situation respectfully is worth far more than applying a rigid procedure that leaves someone waiting without information.
Read more: How to welcome guests without creating lines or leaving anyone lost.
Verify the setup and gather takeaways thoughtfully
Do a final walkthrough once the space is fully set up. An entrance that was clear during the site visit might end up blocked by a decorative table. A reserved seat might end up too far from the activity. Walk through the entire experience and confirm that the team knows the agreed-upon accommodations, sharing only the necessary information. Do not turn personal needs into a public roster or explain to others why someone has an accommodation.
Afterward, provide a brief, private way to share feedback on what made participating easier or harder. Don't expect one person to represent everyone else with similar needs. Save operational takeaways—such as improving signage or changing the layout—and avoid keeping sensitive data you don't need. Accessibility is developed through ongoing decisions and verifications. Hosting a more thoughtful event doesn't require promising perfection; it requires listening, acting within what's possible, and being clear about the actual conditions.
A check you can run before sending
Ask someone who hasn't seen the design to locate the date, address, and contact info on the invitation. Then check that those details are also available outside the image and that links have a clear purpose. If there's an instructional video, check whether the essential information can be understood without listening to the audio. This test is not equivalent to a professional audit, nor does it represent every way people access content. It's a first filter to catch obvious obstacles you can fix without waiting for a guest to report them. When the event involves more complex needs, seek appropriate support and verify solutions well in advance.
From reading to action
Review participation options
Check off what you've already sorted out. This checklist is saved only in this browser, without sending data or creating an account. It is not an app feature.
0 of 8 tasks completed
Before finalizing your plan
Should I ask about diagnoses?
Not for general planning inquiries. Ask what support or condition would make participating easier, and request only the necessary information.
Can I say the event is fully accessible?
Avoid absolute claims without an evaluation to back them up. Describe verified conditions and available accommodations.
What do I do if I can't provide an accommodation?
Explain it in advance, explore concrete alternatives, and don't promise something you can't confirm.
Sources and helpful reading
Practical guide from the editorial team. Examples are for guidance; adapt decisions and requirements to your event.
- W3C: Making Events and Meetings Accessible: Reference for planning, materials, communication, and participation. This article adapts principles for small gatherings without certifying compliance.