
Inviting with intention
How to Manage Event Check-In with QR Codes
Organize QR code check-in: roles, test runs, lines, issues, and offline backup. A welcoming process to greet guests without scrambling at the door.
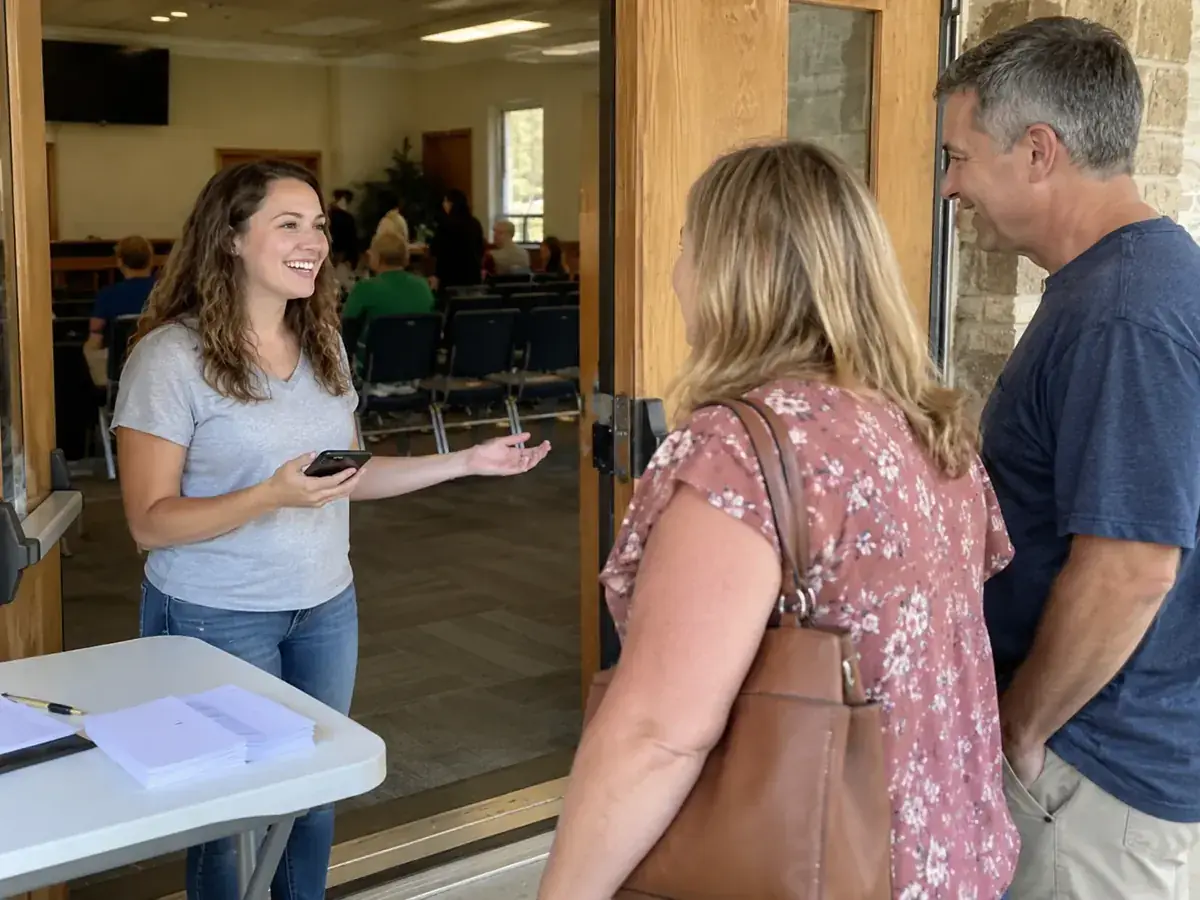
Event entry with QR codes works smoothly when the door team knows what to check, who approves exceptions, and what to do if a code won't scan. The entrance sets the tone for the entire event. A QR code can speed up verification, but it won't decide where lines form, who assists someone with a dead battery, or how to resolve a duplicate invitation. Those decisions rest with the organizers. Sorting them out in advance helps the team welcome guests calmly and prevents personal issues from being debated in front of everyone. This guide outlines an entry workflow for invitation-based gatherings, from device testing to closing down the door. Adapt each step to your event size, venue layout, and the actual tool you plan to use.
Map out the route before worrying about speed
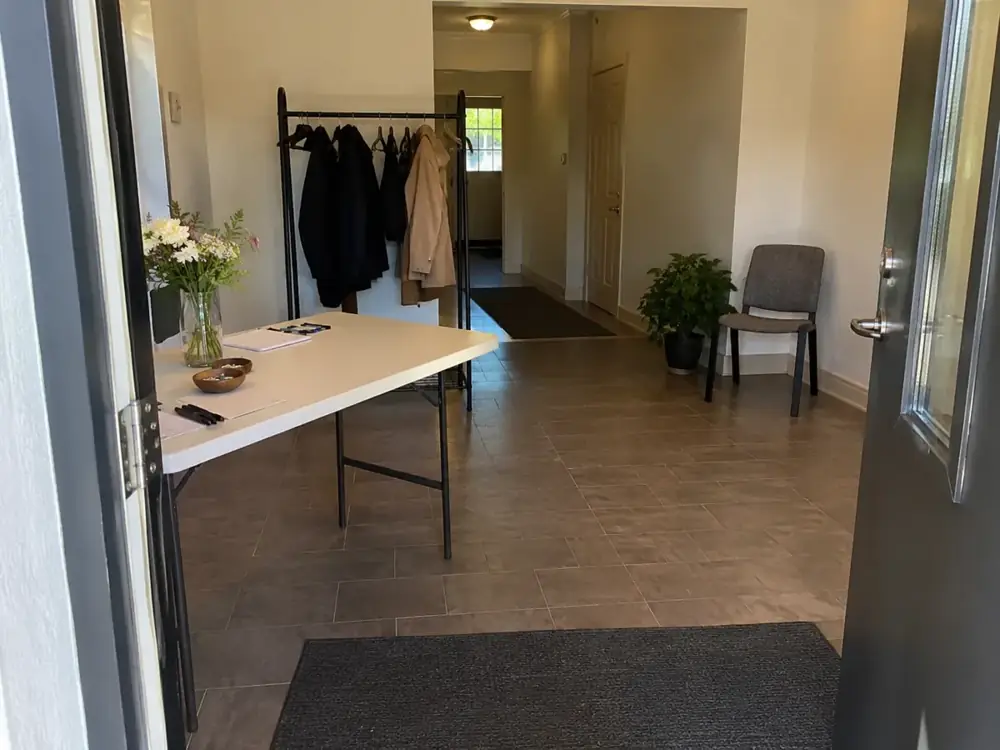
Walk through the venue as if you were a first-time guest. Identify where the line naturally begins, where invitations should be presented, and where guests head after validation. If someone needs to pause to pull up a file, leave enough room so foot traffic isn't completely blocked. Respect the venue's designated entrances and walkways; invitation checks should never encroach on emergency exits or create physical obstacles.
Separate regular check-in traffic from troubleshooting whenever space and staffing allow. This isn't about treating someone like a problem—it gives them breathing room to resolve their issue without feeling the pressure of people waiting behind them. A simple sign and an attendant offering guidance can accomplish more than adding extra devices. Don't promise instant entry: test the process in practice to estimate pace and spot bottlenecks before welcoming the whole group.
Assign roles and a final decision-maker
Designate who scans, who directs guests, and who has the authority to make exceptions. At a smaller event, one person can handle multiple tasks, but they must know which priority takes precedence when an issue pops up. Door staff need clear guidelines, not access to every internal organizing thread. Share only the necessary criteria: correct event, number of admitted guests, procedure for names not on the list, and contact details for the decision-maker.
Convite supports organizer and door-staff roles through its account permissions. Confirm each team member's role and run a test before event day. Never share credentials across individuals as a quick fix for missing access. Likewise, don't assume having a smartphone means someone is ready to run check-in. Every staff member should recognize the app's status screens and know when to hold up and escalate an issue rather than improvising an entry approval.
Read more: QR Code Invitations: What to Check Before Sharing Them.
Test the full flow with representative scenarios
Run an end-to-end rehearsal: receiving the invite, opening it, showing it, scanning it, and passing through into the venue. Use designated test cases so you don't accidentally redeem or alter a real guest's pass. Check a valid ticket, a pass from a different event (if your test environment allows), and a failed scan scenario. Note the exact error messages that appear and write your door instructions around that actual behavior.
Test using the exact format guests will receive. If delivering via email, test the received PDF; if sharing via messaging apps, inspect the file after sending. Practice using the intended hardware and ambient lighting. Check battery life, network connectivity, and team lead availability. A dry run that only confirms the camera turns on doesn't prove your check-in operation is ready. What counts is that your door team understands the screen output and knows how to act consistently.
What to verify on every ticket
Determine these key points before the event and display them clearly for the door team. That way decisions don't rely on one person's memory:
- Name and guest count: staff knows whether an invite covers plus-ones or family members.
- Readable code: guests can present it on their phone or as a printout, depending on your setup.
- Single entry check: each code is scanned once, and the team knows how to handle duplicate scans.
- Exceptions: a designated person handles edge cases away from the main line.
To prepare your guest list ahead of the event, consult our guide on how to create a guest list.
Explain the difference between online mode and local backup
Convite documentation describes server-first validation with local fallback when connectivity drops. In practice, that means you must know when devices are syncing live and when they're operating on cached local data. Don't treat offline mode as a guarantee of instant synchronization across multiple entrances. Two disconnected devices may not immediately reflect actions taken on the other.
Establish a clear offline protocol: who checks connectivity, who coordinates decisions, and how exceptions are logged. Depending on your event size, it may make sense to route all check-ins through a single gate temporarily to prevent duplicate entries. Never alter door strategy without informing the rest of the team. Once connectivity returns, reconcile check-in records using the tool's built-in sync flow. The goal isn't to overcomplicate the door, but to avoid making promises that spotty connectivity can't support.
Handle check-in issues discreetly
A rejected or already-scanned code doesn't automatically imply bad faith. It could be an outdated file, an invite forwarded within a family, an accidental prior scan, or someone selecting the wrong event. Address the guest calmly and neutrally: let's take a look at your invitation. If troubleshooting takes time, guide them over to the help desk and consult the lead organizer. Avoid calling out names or personal details within earshot of the line.
Have a backup plan for guests unable to pull up their pass. Your alternative check method should be established beforehand by organizers and based on data you actually collected; don't invent on-the-spot ID requirements at the door. At the same time, don't simply wave through anyone who provides a name if capacity control matters. Striking the right balance means being helpful, checking available records, and escalating decisions to authorized leads without turning a minor technical glitch into a public scene.
Read more: How to Make a Guest List You Can Actually Use.
Clarify plus-ones and separate arrivals
Group arrivals routinely bring up edge cases: couples arriving separately, families sharing one pass, or guests bringing unexpected plus-ones. Address these possibilities during planning, not while the line is backing up. Verify how party sizes are represented in your check-in system and what staff needs to see to confirm the allowed party size. Don't guess party size based on ticket artwork or an organizer's vague memory.
If an invitation covers multiple guests, communicate check-in requirements ahead of time based on your verified door setup. If separate passes are needed, split them early and test the updated files. For unlisted plus-ones, check remaining venue capacity and obtain proper authorization before granting entry. Apply the exact same criteria across all comparable situations. A polite welcome desk can explain venue limits firmly and clearly without making door volunteers take the blame for overarching event policies.
Wrap up check-in and review lessons learned
Once the main arrival rush winds down, establish a clear way to welcome latecomers. Never pull door staff away without clarifying who will handle remaining arrivals. Gather scanning devices and materials, ensuring no printed sheets containing guest information are left unattended on tables. If temporary exception logs were kept, determine what data needs archiving for event wrap-up and securely discard any unneeded printouts.
Afterward, debrief with your team around concrete observations: which instructions caused confusion, where lines stalled, and which situations caught staff off guard. Don't turn the debrief into finger-pointing or read personal motives into attendance statistics. Improvements are often as simple as enlarging door signage, refining pass delivery, or assigning a dedicated troubleshooter. A successful QR entry setup is defined by its operational consistency and how gracefully it treats people when things don't go according to plan.
Door instructions (example)
This text is a sample template. Adapt it to your venue setup and how you implement QR check-in.
"Welcome! Please have your invitation QR code ready on screen. If your code won't scan, please step over to the help desk, where staff has a backup list. If your party includes additional guests, please let us know when presenting your code. Thank you for your patience!"
A brief sign at the door cuts down on lengthy conversations in line and makes it clear who resolves edge cases. If the QR code is part of the invitation itself, read our guide on QR code invitations.
From reading to action
Your checklist before sending invites
Check off what you've already sorted out. This checklist is saved only in this browser, without sending data or creating an account. It is not an app feature.
0 of 6 tasks completed
Before finalizing your plan
Does QR check-in eliminate the need for a guest list and door lead?
No. You still need an organized check-in flow and an authorized lead to resolve edge cases, even when scanning runs without a hitch.
Can I guarantee duplicate pass prevention across offline devices?
You cannot promise real-time cross-device sync when operating offline. Establish operational procedures that reflect how offline mode actually behaves.
Does QR check-in work for any type of event?
It works well for many guest-list-driven events, but it cannot substitute for sound planning. Before choosing it, ensure the venue has signal, staff is prepared to troubleshoot, and all attendees have a practical way to show their code.
What happens if a guest loses their code?
Maintain a method to look them up by name or the contact info used for the invite. Support staff should be able to resend the code or look it up on a roster without displaying other attendees' data. Document the incident to see how you can prevent it next time.
How should we protect attendee data at check-in?
Display only what is strictly necessary to admit guests and avoid leaving full printed rosters out on tables. Limit roster access to authorized staff and delete the data after the event ends if no longer needed.
Sources and helpful reading
Practical guide from the editorial team. Examples are for guidance; adapt decisions and requirements to your event.
- Convite: Product Information: The features described were verified against product documentation; planning methods are editorial recommendations.